
Hello out there!
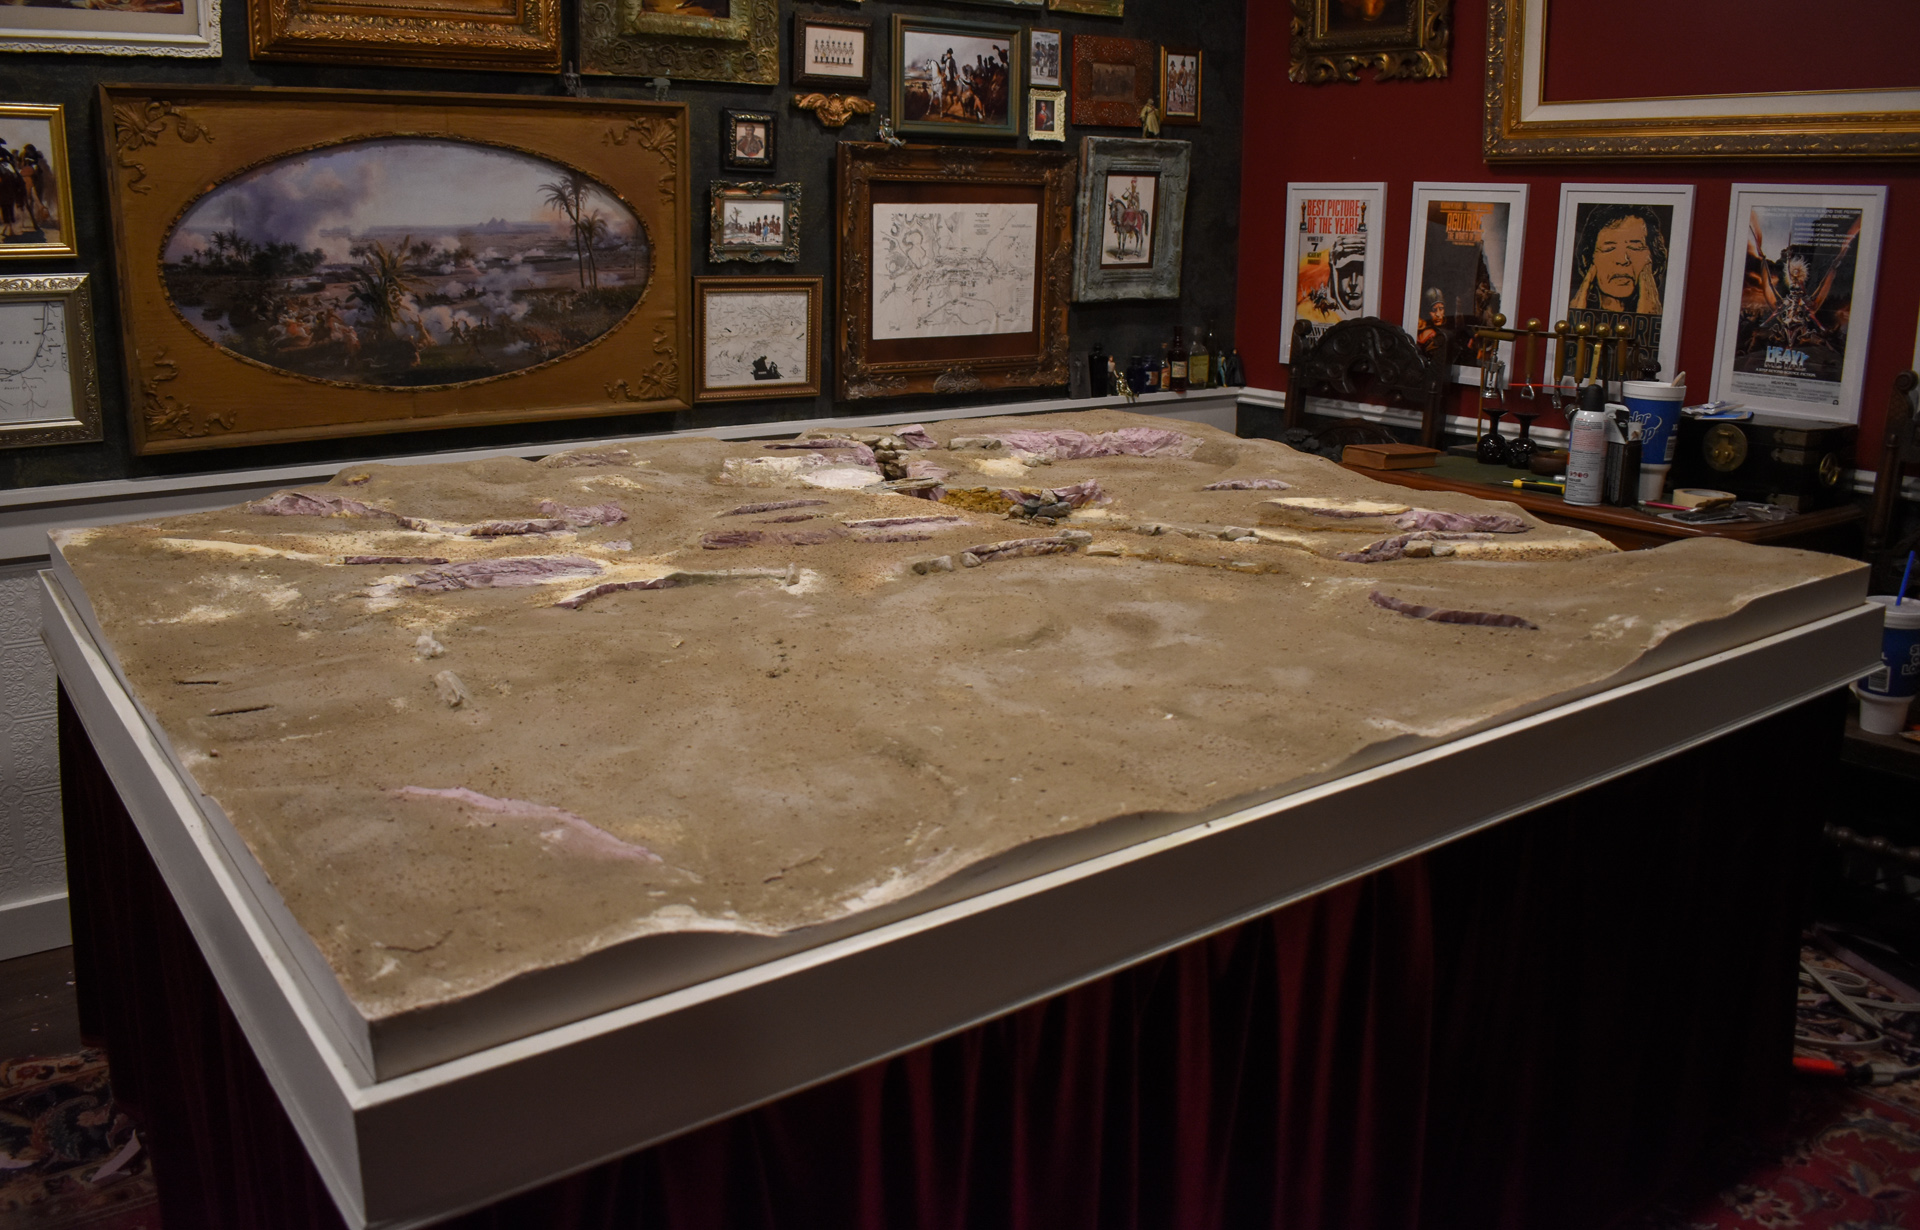
With my new work space finally done and moved in, and having lost all my old photo backdrops in the fire, I figured what better way to get in than to make the biggest backdrop I have ever made! The photos are a bit deceptive since the standard size table is usually 4 feet deep, but this one is about 5.5. Plus there is the simple fact this Civil War commission will need it. Not only has the project outgrown the smaller table I used to get by over at Mom's, the actual chunks of the project I am working on now simply don't fit on it themselves! So let's get to it.


First thing I did to make the table, was to make a table. I wanted to make a setup that was covered on the sides, on wheels, and on the first layer was a "flock sandbox" with modular terrain for smaller scales, and then pop in "toppers" that are sculpted and not modular for 28 and GW model photography. This is the twofold reason for the walls around this portion. Both to hold other tops, and also to use flock, sand, whatever I like, to meld modular terrain into what appears to be a solid table. What you see here is simply flock on a flat plain, but any of it can simply be "deleted" by loose flock or covered in terrain and the edges of those pieces blended in with loose flock.
Another big motivation was, since I am starting over why not be more efficient. I made all sorts of oddball backdrops over the years that took up tons of space and really had no plan one to the other, and would just prop them up on boxes or whatever to get them the right height. Same idea, more refined. I do still intend to make more cabinet style backdrops especially for 40k, but it isn't always necessary now.

First thing for the insert was to make a frame. Don't want this very thick or heavy, so some furring strips and one 1x10 in the middle will hold the foam and just fine. Normally in this situation, would just use 2" foam as a sturdy base screwed in from the sides, but this is bigger than a standard sheet, which means gluing.
The walls look a little ridiculous but will make more sense later.

The big sheet glued in, and then the gap filled with portions of another sheet, making sure the small splice covers the 1x10.

Starting to lay in the rough forms. At this point there is a broad view idea of the look on some scratch pieces of paper which I translate into the size of the table.

Starting to carve, making a big mess. I have a 50 gallon trash bag with pink scraps as I type this.


Continuing to carve, while also adding. I will focus a portion and start cutting into it and seeing what comes out, and then adding more where it might look good. Each one of these needs to dry for a long time, so I go around the table then step away. I use standard adhesive in a caulking tube, whatever brand. This dries extremely slow because of the moisture resistant qualities of the foam, but over the years I have found it to be the best option. The screws are just there to secure them in the meantime so I don't nudge something.
But on the bright side, the pause between steps gives some time to let the whole thing form. No good idea comes at once, but letting it stew.


Skipped a few steps, but once I felt pretty much there with the foam, cut away the frame. A little heat gun and a little palm sander took the hills down and took the perfectly flat out of the base sheet. Lots of filling gaps, blending in hill edges, adding forms, and blending in the frame to the foam using trim caulk. Normally I would use a putty, and this takes forever to cure, but since this will be moved around a lot and pretty thin with some flex, that will hold up compared to not over time.


Adding texture in patches, and some smaller detail. For the latter I use Smooth-On putty. Expensive by volume but worth it. Dries hard but takes detail as well as Milluput, and sticks like two part epoxy. It is extremely adhesive. Smaller rocks, logs, whatever you like can be stuck on with a glob and then textured in around the edges to look like dirt.
The Simple Green bottle is actually a thin glue and water mixture to spray on both before and after.


